

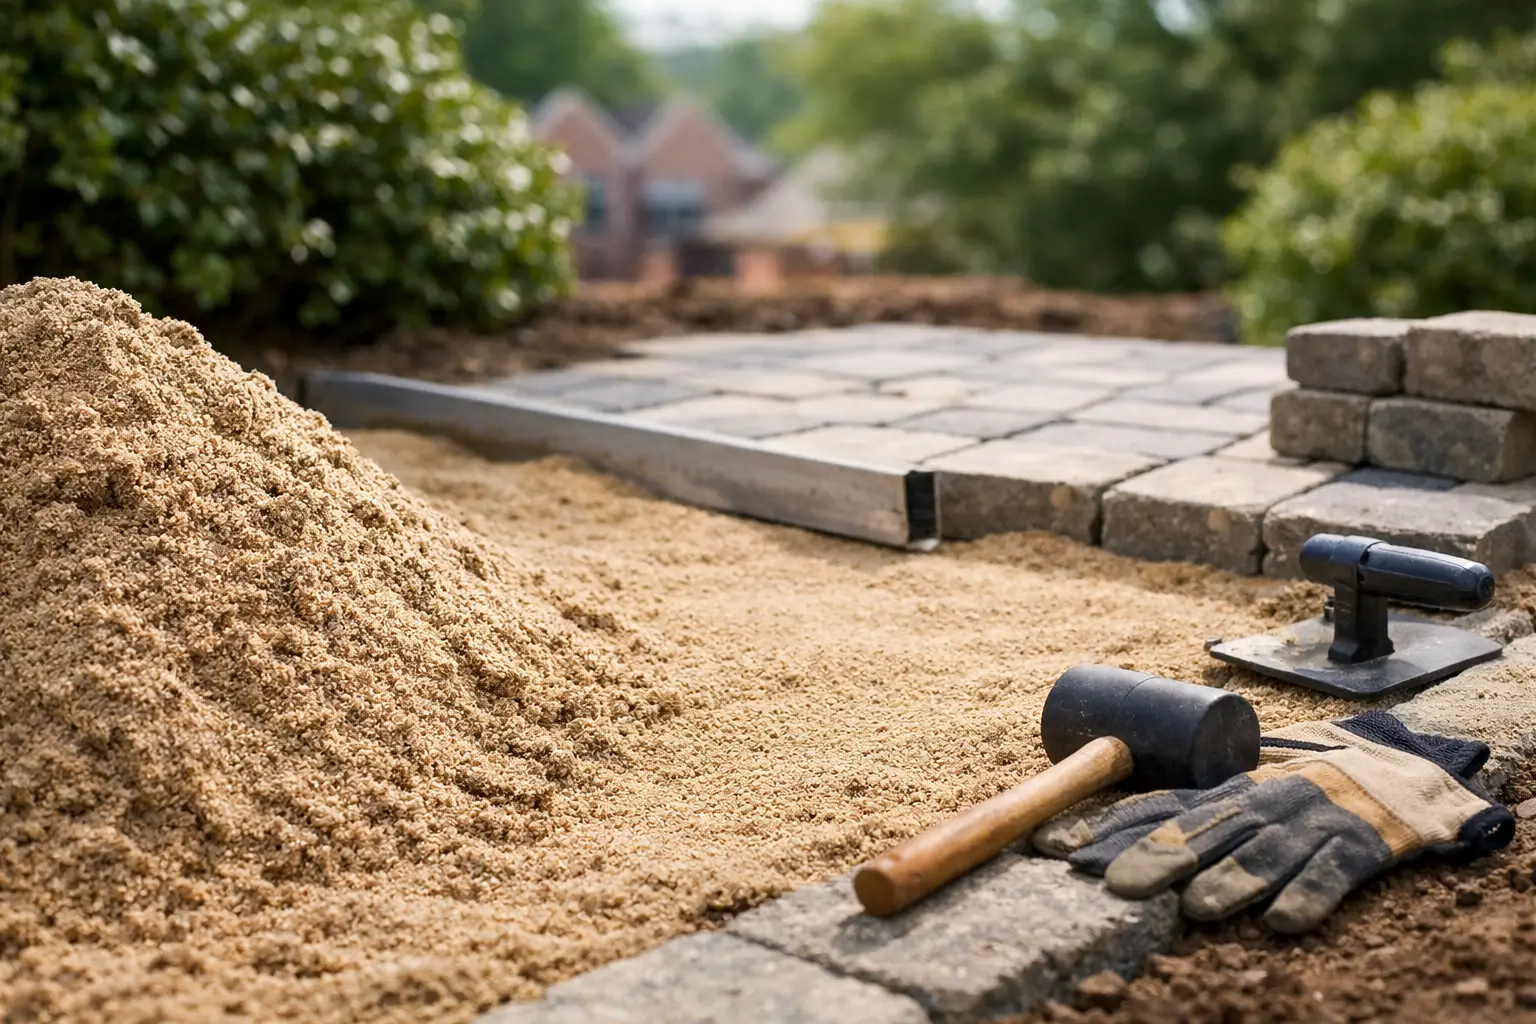
A paver patio can look great on installation day and still fail within a season if the layers underneath are wrong. The right sand for paver base helps create a smooth setting bed for each paver, but sand alone is not the structural base. Knowing the difference before material arrives can save a homeowner or crew from uneven pavers, standing water, and a job that has to be rebuilt.
For patios, walkways, fire pit areas, and small outdoor living spaces around Birmingham, the best results come from using each material where it belongs: compacted aggregate below, the proper bedding sand above it, and joint sand after the pavers are set. It is a practical system, and getting the material right is one of the simplest ways to make the finished surface last.
What Sand Does in a Paver Installation
In most standard paver projects, sand is not meant to carry the full weight of the patio or walkway. That job belongs to a compacted crushed-stone base. The sand layer sits on top of that firm base and gives installers a consistent surface for screeding and setting the pavers.
A properly placed bedding layer is usually about 1 inch deep after compaction. It allows small adjustments as pavers are placed, helping the finished surface stay even without rocking. Sand also supports the pavers across their full underside rather than leaving small gaps that can lead to cracking or movement.
Calling it a “sand base” is common, but it can cause confusion. If a project is built on several inches of loose sand with no compacted aggregate below it, the pavers may shift as rain, traffic, and changing soil conditions take their toll. In the Birmingham area, where hard rain can quickly expose weak drainage or loose base material, that distinction matters.
Which Sand for Paver Base Is Usually Best?
For the bedding layer under concrete or brick pavers, many installers use coarse, clean concrete sand. Its angular particles interlock better than very fine sand and allow for a stable, workable setting bed. The exact material name can vary by supplier and quarry, so it is more useful to describe the job than to rely only on a label.
Ask for clean, coarse sand suitable for placing beneath pavers. It should be free of large debris, excessive clay, and organic material. A material with too many fine particles can hold water and become difficult to level consistently, especially after a wet Birmingham week.
Masonry sand is often finer and smoother. It has plenty of good uses around a property, but it is not always the first choice for a standard paver bedding course. It can be easier to move and finish, yet its fine texture may not provide the same performance under a heavily used patio, sidewalk, or driveway edge.
There is also a separate product for filling the spaces between installed pavers. Polymeric joint sand is swept into the joints after the pavers are set and then activated according to the manufacturer’s directions. It helps resist washout, weeds, and insect activity. It is not a replacement for bedding sand below the pavers.
The Layer That Matters Most: Compacted Aggregate
A durable paver surface starts with excavation and a compacted aggregate base. This layer provides the strength that sand cannot. Crushed stone or a dense-grade aggregate is typically installed in lifts, then compacted thoroughly with the right equipment.
The required depth depends on the project. A lightly used garden path may need a shallower base than a patio, while a driveway, parking area, or location with poor soil may require a substantially deeper aggregate layer. Soil conditions, drainage, paver thickness, and expected traffic all affect the plan.
For many residential patios and walkways, the goal is to excavate deep enough for the compacted aggregate, a roughly 1-inch bedding layer, and the paver thickness while keeping the final surface at the desired elevation. Avoid trying to correct a low area by adding extra bedding sand. A thick sand layer can settle unevenly. Bring the aggregate base to the proper grade first, then screed the sand evenly.
Edge restraints are another part of the system that should not be skipped. They keep the outer pavers from spreading outward under foot traffic and seasonal movement. Without solid restraint, even a carefully leveled surface can begin opening at the edges.
Drainage Should Shape the Plan
A paver project needs a planned slope before the first load of material is placed. Water should move away from the house and away from structures that could be affected by runoff. A common target is a gradual fall of about 1/4 inch per foot, but each property needs to be evaluated on its own layout.
Do not rely on sand to solve a drainage problem. If water already pools near the intended patio or walkway, address the grade, downspout discharge, or drainage path first. Sand can move with flowing water, and a saturated base is more likely to settle over time.
This is especially relevant for properties with clay-heavy soil, which is common in parts of central Alabama. Clay drains slowly and can hold water beneath a hardscape area. A well-compacted aggregate base and a correct slope give that water a better route out of the installation rather than allowing it to work under the pavers.
Getting the Bedding Sand Right
Once the aggregate base is compacted, checked for slope, and brought to final grade, the sand layer can be placed. Spread enough material to create a consistent bed, then pull a straight screed board across guide rails or pipes. This creates the level surface that makes paver installation faster and more accurate.
Try not to walk repeatedly on freshly screeded sand. Footprints and ruts create low spots that can transfer to the finished paver surface. Set pavers directly onto the screeded bed, working forward from the installed area whenever possible.
After the pavers are laid, compact the surface with a plate compactor suitable for the paver type, often with a protective pad to avoid marking the finish. Joint sand is then swept in and compacted as needed. Follow the product directions carefully if using polymeric sand, since too much water or too little cleaning can leave a haze on the paver faces.
How Much Sand Do You Need?
Sand is usually sold by weight or by the cubic yard when purchased in bulk. To estimate the amount, multiply the project length by width to find square footage, then multiply by the planned sand depth in feet. Divide that result by 27 to convert cubic feet to cubic yards.
For example, a 12-by-16-foot patio has 192 square feet. At a 1-inch bedding depth, the calculation is 192 multiplied by 1/12, or 16 cubic feet. Dividing by 27 gives just under 0.6 cubic yard before allowing for handling, leveling, and minor waste.
It is wise to order a little extra rather than come up short during the screeding stage. The amount should still stay close to the plan. Ordering far too much sand can tempt installers to make the bedding layer thicker than it should be.
A material yard can help translate your project measurements into a practical bulk order. Let the team know whether the material is for a paver bedding layer, joint filling, or another use. Those are different jobs, and a quick conversation can prevent a costly mix-up.
Pickup or Delivery Makes a Difference
A small repair may be manageable with bagged material, but a new patio can require enough aggregate and sand to make multiple trips inconvenient. Bulk material is often a better value for larger projects and keeps the work moving once excavation begins.
Before scheduling delivery, choose a firm, accessible drop location that will not block the work area. Consider overhead branches, parked vehicles, soft ground, and the distance from the pile to the project. Clear placement instructions are especially helpful when a crew is working on a tight schedule.
Landscape Source Inc. serves homeowners and professional crews with quality bulk materials, helpful guidance, and dependable local delivery. Whether you are building a backyard patio yourself or preparing materials for a client project, starting with the right sand and base material gives the pavers a better chance to stay level for years.
Measure carefully, plan the drainage before ordering, and match the material to its intended layer. A little preparation at the yard stage makes the installation day smoother and the finished space more enjoyable.

Leave a Reply