

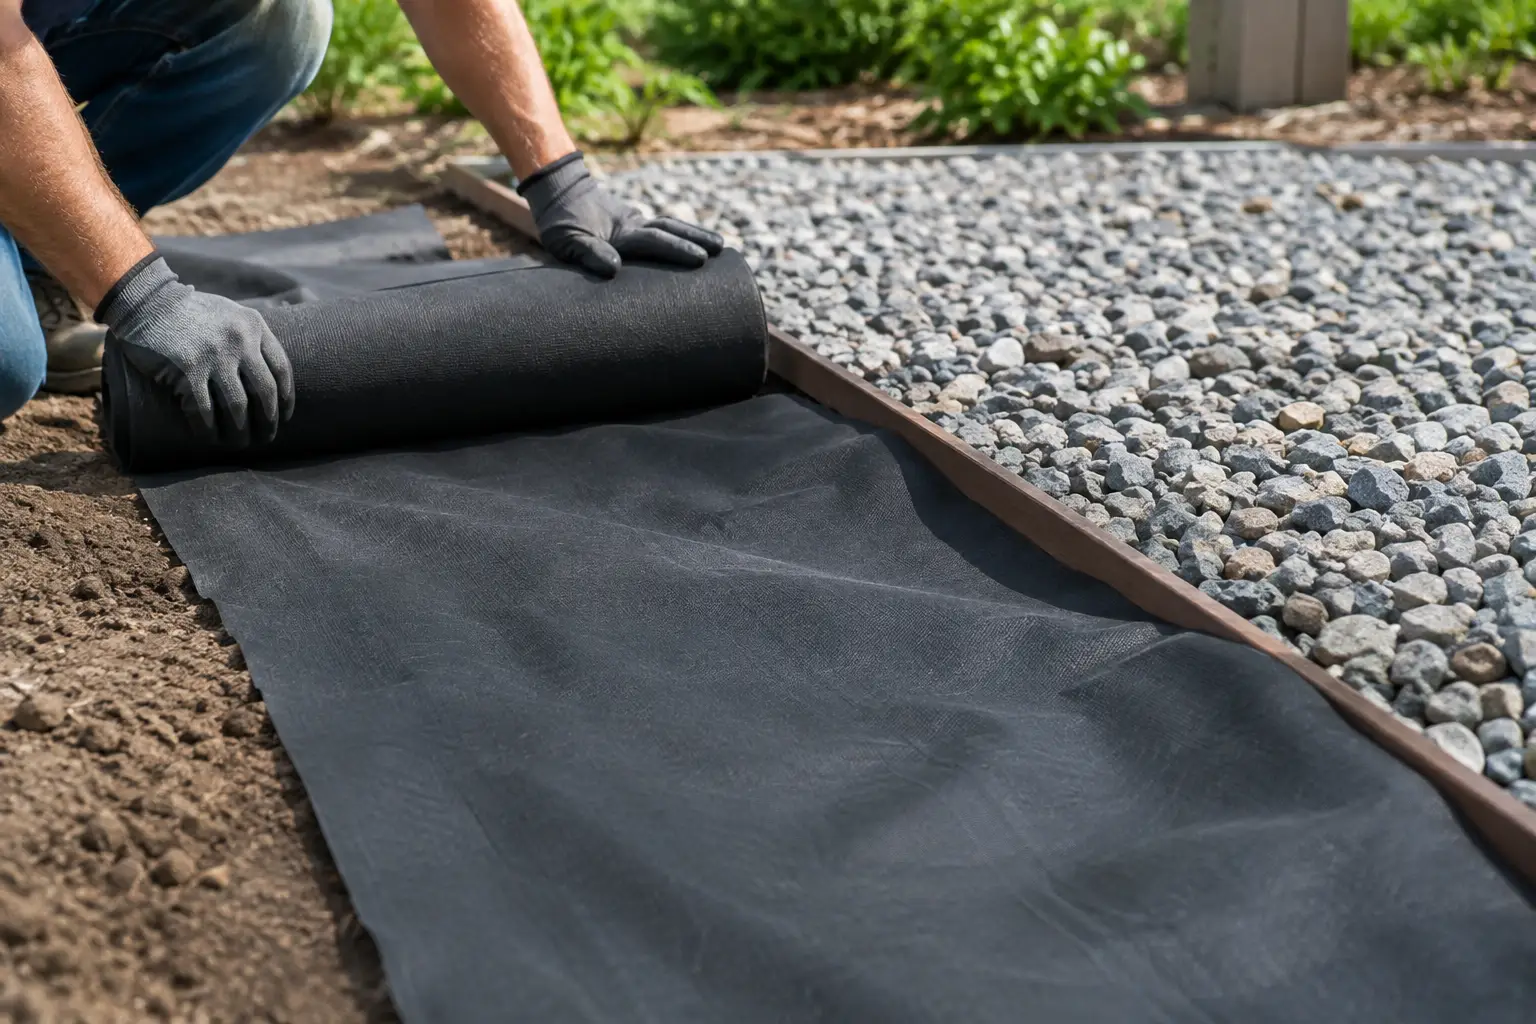
A gravel driveway edge, garden path, or stone bed can look clean and finished on installation day, then start collecting weeds and sinking into soft soil a season later. When you install weed barrier under gravel the right way, you give the stone a cleaner separation from the soil below and make long-term maintenance more manageable. The key is choosing the right fabric, preparing the base carefully, and recognizing that fabric is a helper, not a permanent cure for every weed.
For Birmingham-area properties, that preparation matters. Our clay-heavy soils can hold water, shift after hard rain, and compact tightly. A well-built gravel area should account for drainage and traffic before the first load of stone arrives.
When Weed Barrier Makes Sense Under Gravel
Landscape fabric is most useful in decorative gravel beds, walkways, dry creek beds, and lightly used areas around shrubs or hardscape features. It creates a separation layer between native soil and gravel, helping slow the upward migration of soil into the stone. That separation can keep decorative gravel looking cleaner and make future refreshing easier.
It is less useful as a cure-all for weeds. Many weeds that appear in mature gravel beds do not sprout from the soil underneath. Their seeds blow in, settle in dust and organic debris between stones, and germinate near the surface. Fabric will not stop those weeds. Regular cleanup and occasional spot treatment still have a place in gravel-bed maintenance.
For a heavily traveled driveway, fabric alone is not a substitute for a properly compacted aggregate base. If vehicles will use the area, the most important decisions are excavation depth, base stone, compaction, drainage, and edging. In some driveway applications, a heavier geotextile fabric may be appropriate for soil separation and stabilization, but the material should match the job rather than simply using thin retail weed fabric.
Choose Fabric for the Job, Not Just the Lowest Price
Look for a permeable, woven landscape fabric that lets water pass through while separating soil from gravel. Water needs a route downward. A nonpermeable plastic sheet can trap water, create puddles, and make gravel shift or wash out after rain. It also prevents air and moisture from reaching nearby plant roots.
Fabric weight matters. Light fabric can work under decorative stone in a low-traffic bed, but it tears easily during installation and may not hold up when stone is moved or raked. A medium- to heavy-duty woven fabric is usually the better value for paths, larger beds, and areas where crews will walk during maintenance.
Avoid using fabric where you plan to cultivate, divide perennials, or frequently add plants. Every planting hole creates another opening, and roots can eventually intertwine with the material. In planted beds, mulch is often a more practical surface choice. For a permanent stone area with only a few established shrubs, fabric can be a good fit when cuts are made neatly around each plant.
Measure the Area and Plan the Gravel Depth
Before ordering material, measure length and width in feet. Multiply those numbers for square footage. Your gravel depth determines how much stone you need, and it also affects how well the fabric stays protected.
Decorative beds often need about 2 to 3 inches of gravel. Paths generally benefit from 3 to 4 inches, especially when the ground is uneven or the stone is larger. Driveways require a deeper engineered base below the finished gravel surface, often 4 inches or more depending on soil conditions, traffic, and drainage.
Do not spread gravel too thin just to stretch a load. Thin coverage exposes fabric, allows weeds to establish more easily, and looks patchy as stones settle. A local material supplier can help translate your measurements and desired depth into a practical yardage estimate, whether you are picking up a small load or scheduling delivery for a larger project.
How to Install Weed Barrier Under Gravel Step by Step
1. Mark the layout and check water flow
Use a hose, marking paint, or stakes and string to outline the area. Stand back and check the shape from the driveway, sidewalk, and main viewing areas. It is easier to adjust a curve now than after edging and gravel are in place.
Pay attention to runoff. Gravel is permeable, but the compacted soil or base beneath it can still direct water. Keep finished grades sloping away from the home and avoid creating a low spot where rain will collect. If the project sits near a foundation, downspout outlet, or naturally wet area, solve the drainage issue before adding fabric and stone.
2. Remove vegetation and excavate to depth
Remove existing grass, weeds, roots, and loose organic matter. For a decorative bed, excavation may only need to account for your gravel depth and edging. For a path or drive, dig deeper to make room for a compacted base as well as the finish stone.
Take time on this step. Leaving thick turf, large roots, or soft pockets under the fabric can create uneven spots later. On compact red clay, loosen only what you need to shape the grade, then compact the subgrade firmly. If the soil is saturated, wait for drier conditions rather than trying to build on mud.
3. Build and compact a base when needed
A decorative bed with minimal foot traffic may use fabric directly over shaped native soil. A walkway or driveway needs more support. Add an appropriate crushed-stone base in lifts, then compact each layer with a plate compactor or roller. This creates a stable foundation and reduces the ruts and low areas that make gravel projects frustrating.
The exact base material and depth depend on the project. A footpath has different needs than a driveway used by work trucks. If you are unsure, describe the intended use, soil condition, and finished stone to a knowledgeable materials team before delivery day.
4. Install edging before the fabric and gravel
Edging holds the project together. Without it, gravel migrates into grass, mulch, and nearby pavement. Steel, aluminum, composite, stone, brick, pressure-treated landscape timbers, and crossties can all work, depending on the style and demands of the area.
Set edging solidly and keep its top at the right height. For a clean look, allow the finished gravel to sit slightly below the top of the edging. This gives the stone a defined border while helping prevent spillover during rain, mowing, or foot traffic.
5. Lay the fabric with overlap and secure it well
Roll the fabric across the prepared surface, keeping it smooth but not stretched tight. Overlap adjacent pieces by at least 6 inches, and use more overlap on slopes or around irregular shapes. Position the overlap so water moving downhill is less likely to work beneath an exposed edge.
Use landscape staples every few feet along edges and overlaps, with extra staples around curves and corners. The fabric should lie flat against the ground. Wrinkles become channels where gravel can shift, and exposed folds can show through thin stone coverage.
For shrubs or existing trees, cut an X only as large as necessary and fold the fabric back around the trunk or stems. Keep stone away from tree trunks and avoid burying the root flare. Gravel piled against bark can hold unwanted moisture and cause long-term plant stress.
6. Place gravel carefully and spread it evenly
Have gravel dumped as close to the work area as access allows, but do not let a heavy truck cross an unprepared bed or soft lawn. Clear placement instructions help make delivery easier, especially on tight residential lots.
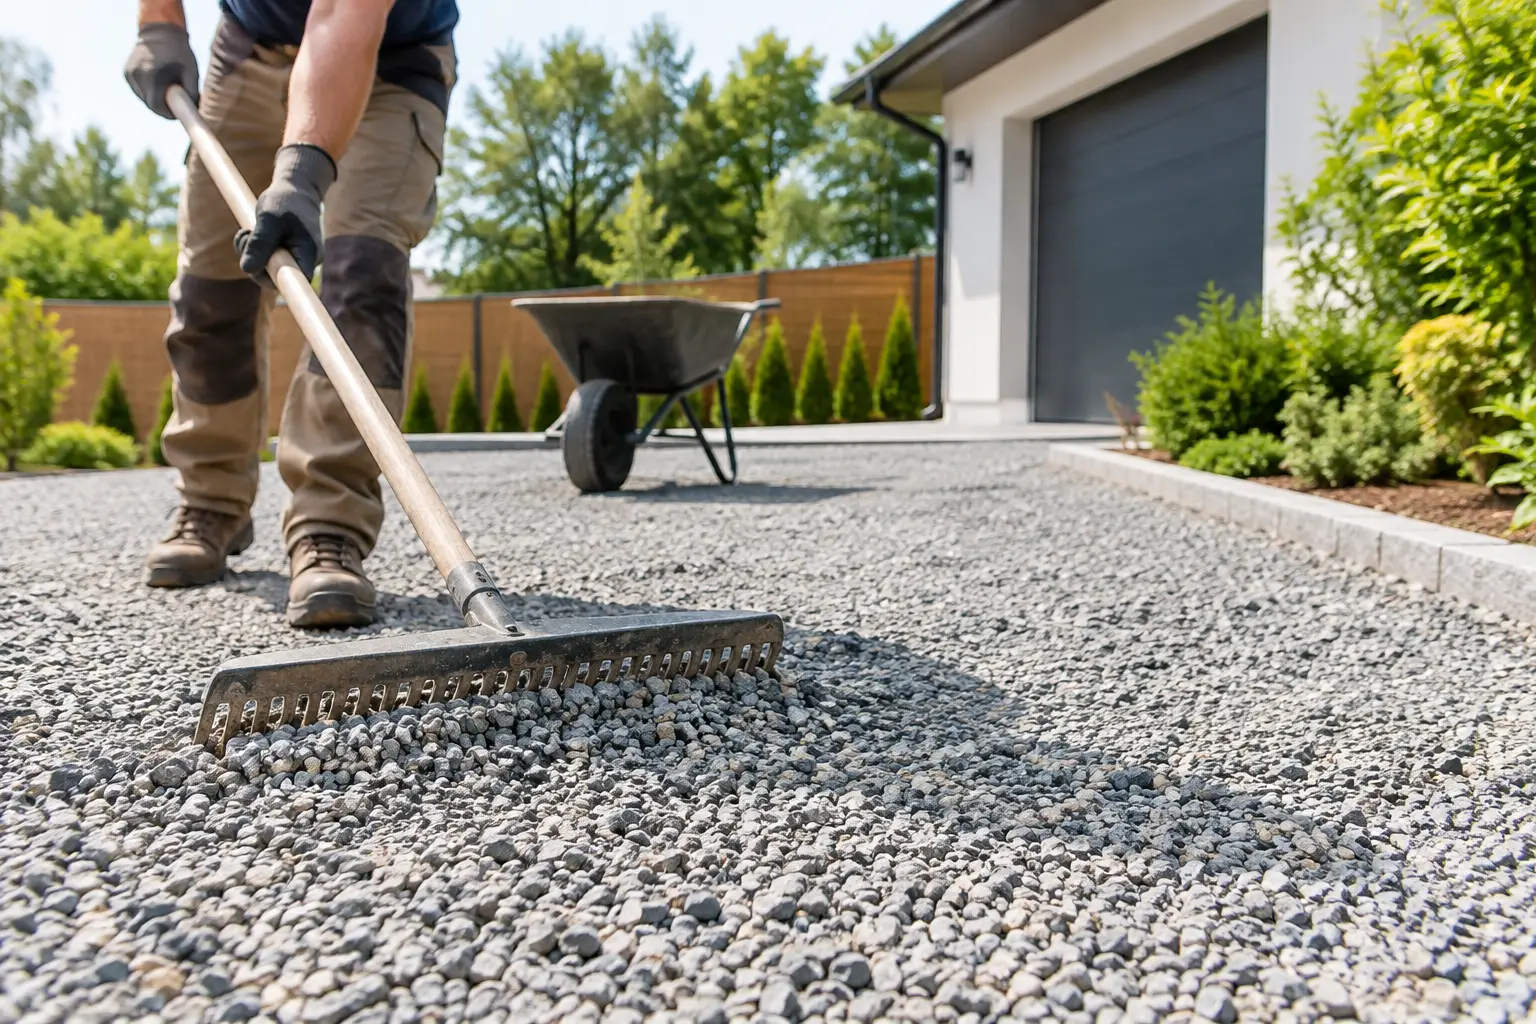
Move the gravel onto the fabric gently at first. Avoid dragging a loader bucket or sharp rake directly across exposed fabric, which can snag or tear it. Start with small piles, spread with a landscape rake or shovel, then add material until the surface reaches the planned depth. Check the area from several angles as you work. A consistent depth gives the finished bed its polished appearance.
Landscape Source Inc. can help Birmingham homeowners and landscape crews select bulk decorative gravel, limestone, river gravel, or other stone suited to the look and use of the project, with delivery planned around the placement details at your property.
Common Problems to Avoid
The most common mistake is installing fabric over weeds without removing them first. Existing roots and vigorous growth can push through weak material, while decaying vegetation leaves an uneven base. Another is using fabric with no edging, which allows gravel to scatter despite the work underneath.
Do not cover fabric with only a thin dusting of stone. Sunlight degrades exposed fabric, and a shallow layer offers little protection from rakes, feet, or pets. Also avoid placing gravel directly against siding, wood structures, or plant trunks. Leave appropriate clearance and maintain the intended grade.
Finally, remember that gravel beds need occasional care. Blow or rake away leaves before they break down into soil-like debris. Pull small weeds early or treat them as appropriate for the surrounding plants and site. Top off stone when needed instead of waiting for the fabric to become visible.
A gravel project lasts longer when the base, fabric, edging, and stone all do their separate jobs. Start with a clear plan, order enough material for proper coverage, and take the extra time to prepare the ground. That effort shows every time you pull into the driveway or walk through the yard.

Leave a Reply