

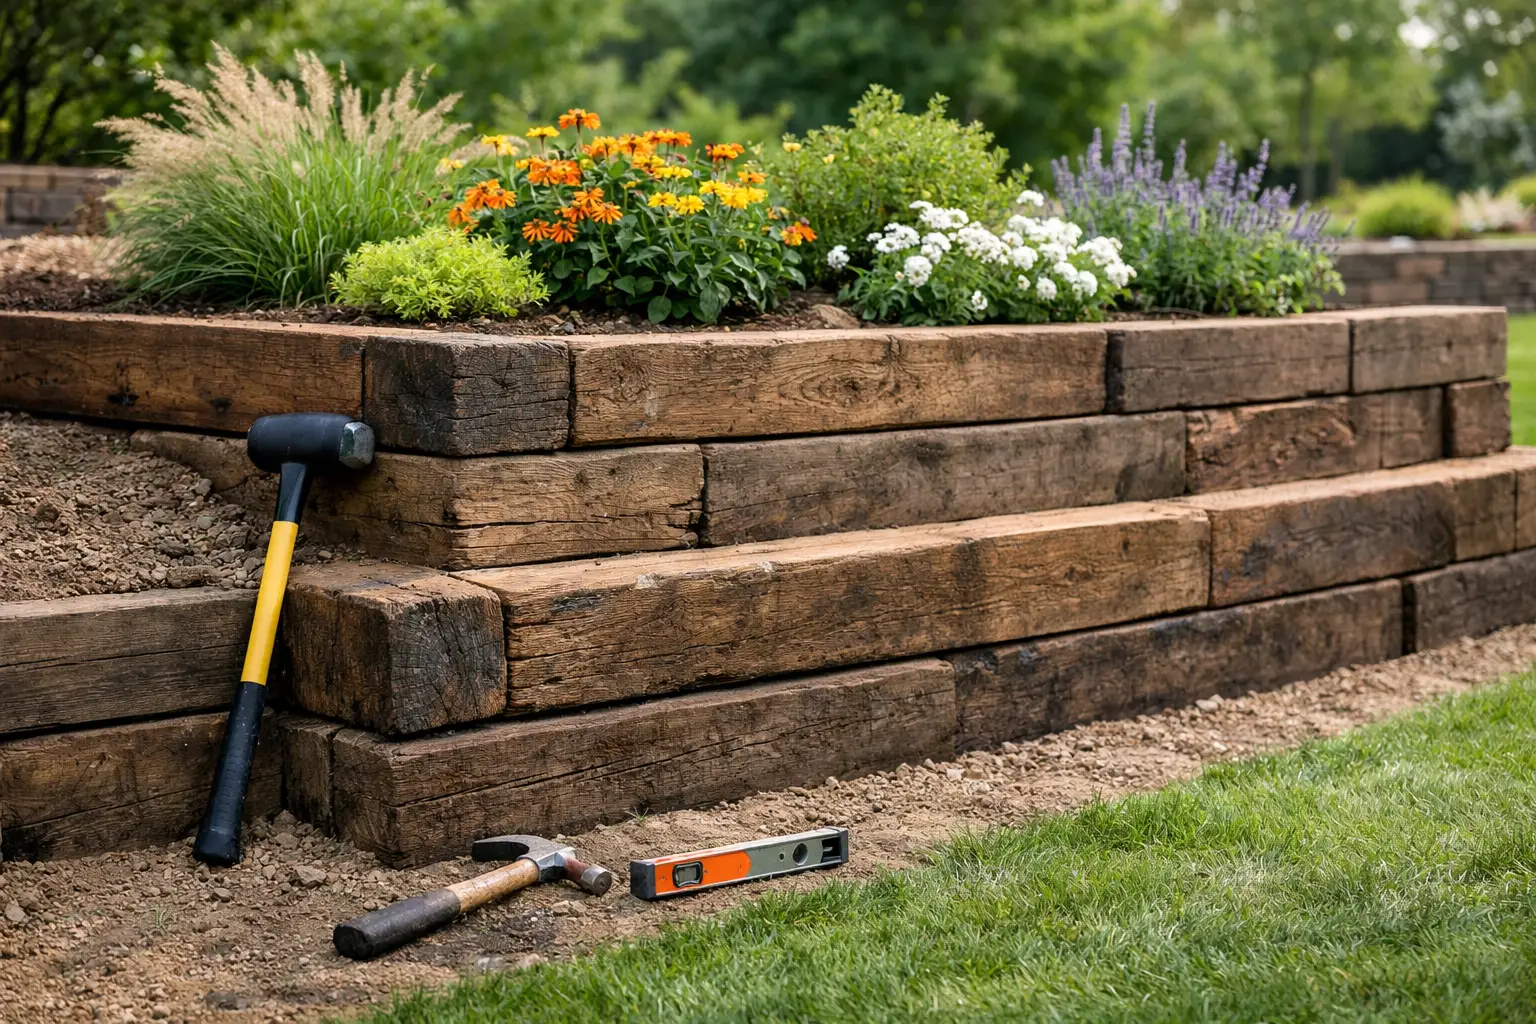
A crossties garden retaining wall does more than hold back a slope. It can turn a washed-out edge, hard-to-mow hill, or uneven planting area into a clean, usable garden bed with a natural wood look. When it is laid out carefully and built on a solid base, crossties offer a practical way to define outdoor spaces without the formal appearance or higher material cost of some stone wall systems.
For Birmingham-area properties, drainage deserves as much attention as the wall face. Our heavy rains can move soil quickly, and water trapped behind any retaining wall will eventually find the weak spot. The right material, base preparation, and backfill help your wall stay straight and useful season after season.
Start With the Job Your Wall Needs to Do
Before ordering crossties, look at the slope and decide whether the wall is primarily decorative, meant to create a level planting bed, or needed to hold a significant grade change. A low garden border has very different demands than a wall supporting a driveway, patio, or steep backyard bank.
Crossties work especially well for terraced beds, curved garden edges, tree-ring borders, and modest grade transitions. Their substantial size creates a strong visual line, and the warm, weathered wood texture fits naturally with mulch, gravel, shrubs, and perennial plantings.
Height is the first decision that affects everything else. Once a wall becomes tall or supports a heavy load above it, it may need engineering, more extensive reinforcement, and local permit review. If there is a structure, vehicle area, pool, or neighboring property above the slope, treat it as more than a weekend landscape project. A qualified contractor or design professional can help determine what is appropriate for the site.
It also helps to plan the finished bed before construction begins. Think about where you want planting soil, whether a mower needs access along the top or bottom of the wall, and where rainwater naturally travels. A wall that looks good on installation day should also leave room for mulch, plants, maintenance, and drainage later.
Choose Crossties That Fit a Garden Setting
Not every timber has the same history or treatment. Ask about the crossties available for your project and choose material suited to landscape use. Avoid using older reclaimed railroad ties treated with creosote around vegetable gardens, edible plants, children’s play areas, or places where people and pets spend a lot of time. Their odor, residue, and age can make them a poor fit for residential garden projects.
For ornamental beds and general landscape retaining, new landscape-grade crossties provide the sturdy, rustic appearance many homeowners want. Expect natural checking, surface splits, knots, and color variation. Those characteristics are part of a wood retaining wall, not necessarily a defect. The goal is to select sound ties and position the best faces where they will be visible.
Measure the wall length, then account for the tie length and the way corners will overlap. Ordering by a rough linear-foot estimate alone can leave you short at returns, steps, curves, and staggered joints. A simple sketch with wall lengths, elevations, and tie orientation makes material planning much easier.
Landscape Source can help homeowners and crews plan a practical crosstie quantity and arrange delivery to the job site. Since ties are heavy and awkward to move by hand, discuss access, unloading space, and placement instructions before delivery. Having materials placed close to the work area saves time and keeps your yard from turning into a hauling project.
Build the Base Before Setting the First Tie
The bottom course sets the entire wall. If it is out of level, every course above it follows the same problem. Take the time to establish a straight, stable trench instead of trying to correct the wall as you stack it.
Excavate a trench wide enough for the first tie and deep enough to bury part of that first course. The exact depth depends on the wall height, site conditions, and the tie dimensions, but setting the first course into the ground gives the wall a more secure starting point and a finished appearance.
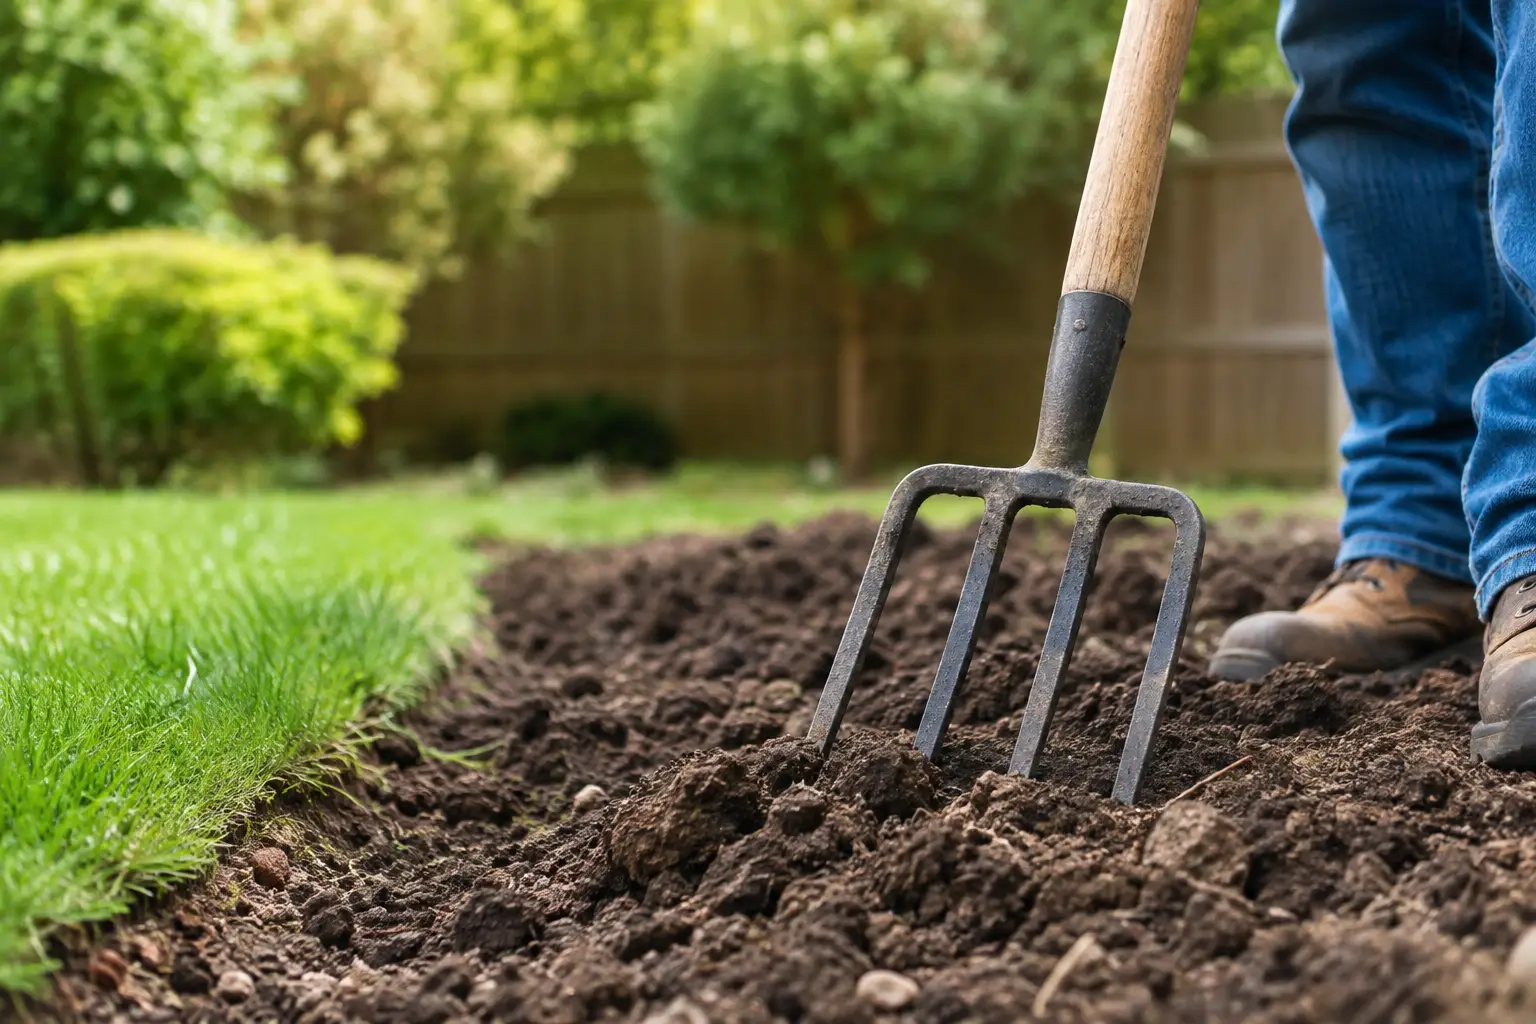
Remove loose organic soil from the trench and create a compacted aggregate base where conditions call for it. A crushed stone base can help level the ties and improve drainage beneath the wall. Check the base repeatedly with a long level. On a long wall, work in manageable sections so small errors do not grow from one end to the other.
The base should follow the site intentionally. For a wall that runs across a slope, use stepped sections rather than trying to force every tie into one continuous diagonal line. Stepping keeps courses level, creates a cleaner look, and gives each section a better bearing surface.
Keep the First Course Straight and Secure
Set the first crosstie with its best face outward, then check it for level front to back and side to side. Use a string line for straight runs. For curves, use a garden hose or marking paint to establish the shape before excavation, then make gradual bends rather than sharp turns that leave awkward gaps.
Secure ties using the hardware and anchoring method appropriate for the wall design. Rebar pins are commonly used to connect wood courses and help prevent shifting. Predrill where needed, especially near tie ends, to reduce splitting. Wear proper eye and hearing protection when cutting or drilling, and inspect each tie before fastening it into place.
Stack With Staggered Joints and Built-In Setback
A crossties garden retaining wall should not be built like a stack of blocks lined up seam over seam. Stagger the vertical joints from one course to the next. This helps the wall act as a connected structure and gives it a more balanced, professional appearance.
As the wall rises, step each course back slightly toward the slope. This setback, sometimes called batter, helps the wall lean into the soil it is retaining rather than standing perfectly vertical against it. The amount of setback depends on the wall design, but even a modest, consistent step-back makes a noticeable difference in stability and appearance.
At corners, alternate the direction of overlapping ties from one course to the next. Cut ends should be clean and deliberate, not pieced together from short scraps. Short offcuts can be useful for a small return or a planned detail, but they are not a substitute for full-length ties in a main wall run.
If you are creating terraces, build the lower wall with enough space behind it before beginning the next level. A narrow gap between two walls can trap water and make planting or maintenance difficult. Terraces are most useful when each level has enough depth for soil, roots, mulch, and access.
Drainage Is What Protects the Wall From Behind
The visible wood face gets attention, but the material behind the wall often determines how long it lasts. Water-saturated soil is heavy. When it builds up behind a wall, it increases pressure and can push ties outward, especially after prolonged rain.
Place free-draining aggregate directly behind the wall rather than packing heavy clay soil against the ties. A perforated drain pipe at the base of the backfill can carry water toward a suitable outlet. The pipe needs a planned path for discharge – simply burying it without an outlet will not solve the problem.
Use landscape fabric where appropriate to separate native soil from drainage stone. This can help keep fine soil from working into the aggregate over time. Backfill in layers and compact carefully as you build, but do not overcompact the planting area if the space is intended for shrubs, flowers, or small trees.
Make sure surface water at the top of the slope is directed away from the wall. A shallow swale, grading adjustment, or properly planned bed edge can keep runoff from pouring straight into the retained area. If downspouts empty near the wall, extend or redirect them before they create a recurring water problem.
Finish the Bed for Long-Term Maintenance
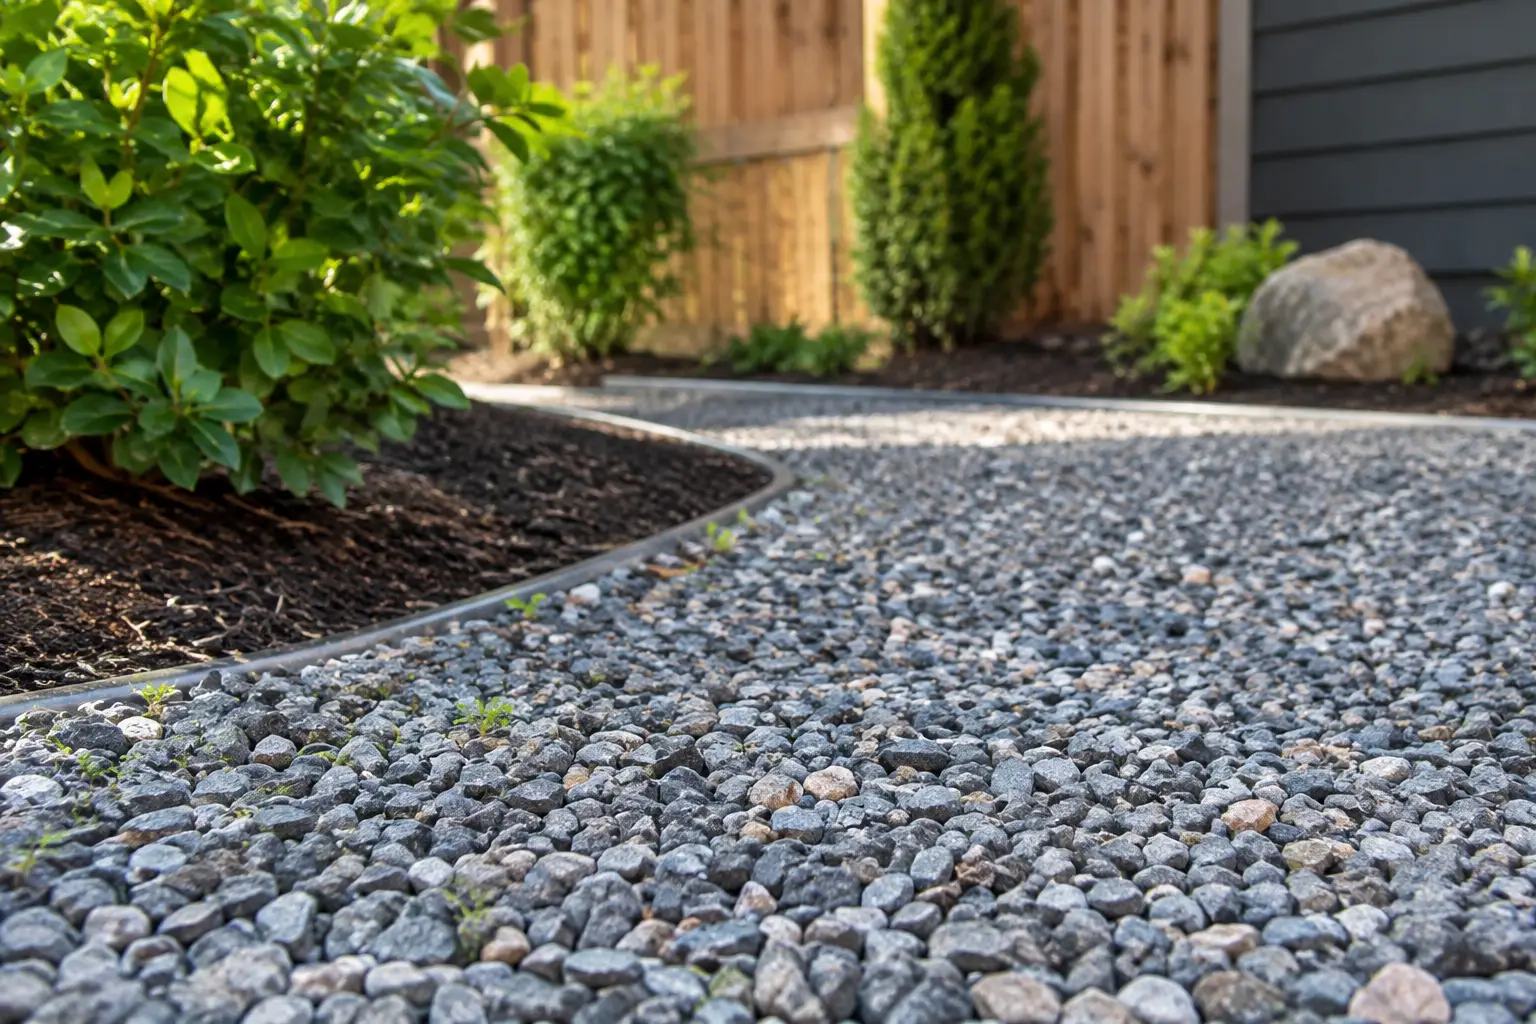
Once the wall and drainage are complete, bring in quality topsoil for planting and finish with mulch or decorative gravel based on the look and maintenance level you prefer. Mulch helps conserve moisture and gives a new bed an immediate finished appearance. Gravel can be a good choice for areas with drought-tolerant plants or a more defined, low-maintenance style.
Leave a little room between mulch and the wood face rather than piling material tightly against the ties. This improves airflow and makes it easier to spot settling, insect activity, or areas where water is collecting. Check the wall after major storms during its first year. Small issues, such as a low spot in the bed or a loose cap course, are easier to correct before they become a larger repair.
A well-planned crosstie wall should look like it belongs on the property, not like it was added to fight the yard. Start with a sound base, give water a place to go, and choose materials that make the finished garden easier to enjoy every time you step outside.

Leave a Reply