

Clay soil can hold onto water long after a Birmingham rainstorm has passed, then bake into hard clumps when the weather turns dry. That does not mean your garden bed is doomed. When you amend clay soil before planting, you create the air spaces, drainage, and steady nutrition roots need to establish well.
The goal is not to turn your native soil into something completely different overnight. Good soil improvement is a gradual process that makes clay easier to work while helping it support shrubs, perennials, vegetables, and trees for years to come. Start with the right materials, work them into a broad area, and avoid a few common shortcuts that can make dense soil worse.
Why Clay Soil Needs a Different Approach
Clay particles are extremely small and fit tightly together. That structure allows clay to hold nutrients well, which is a real advantage, but it also limits the movement of water and oxygen. Roots can struggle in wet, compacted ground, especially after heavy rain. In dry periods, the same soil may shrink, crack, and become difficult to dig.
New plants need more than fertilizer. Their roots need pore space in the soil for air and water to move through. Organic matter helps create that space. It also makes the soil easier to dig, encourages beneficial soil life, and improves the soil’s ability to hold moisture without staying saturated.
Clay is common across the Birmingham area, but no two yards are exactly alike. A newer home may have compacted subsoil left from construction. An established garden may have decent topsoil on the surface but dense clay a few inches down. Looking at the soil after a rain and digging a small test hole will tell you more than its color alone.
Test and Time the Work Before You Amend Clay Soil Before Planting
A soil test is a smart first step, particularly for vegetable gardens, lawns, and beds that have performed poorly. It can identify pH and nutrient levels, so you are not guessing about lime or fertilizer. Many Alabama soils tend acidic, but applying lime without a test can create another problem rather than solve one.
Wait until the soil is moist but not wet enough to stick heavily to your boots or shovel. Working wet clay smears and compacts it, closing up the very spaces you are trying to create. If you can squeeze a handful into a slick ribbon, give the bed more time to dry. If it crumbles when pressed, it is generally ready to work.
Planning ahead also matters. Amend a new bed several weeks before planting when possible, especially if you need to remove weeds, loosen compacted ground, or shape the finished grade. For spring planting, fall is an excellent time to begin improving clay soil. The organic material has time to settle in, and winter weather helps break apart larger clods.
Use Organic Matter as the Main Amendment
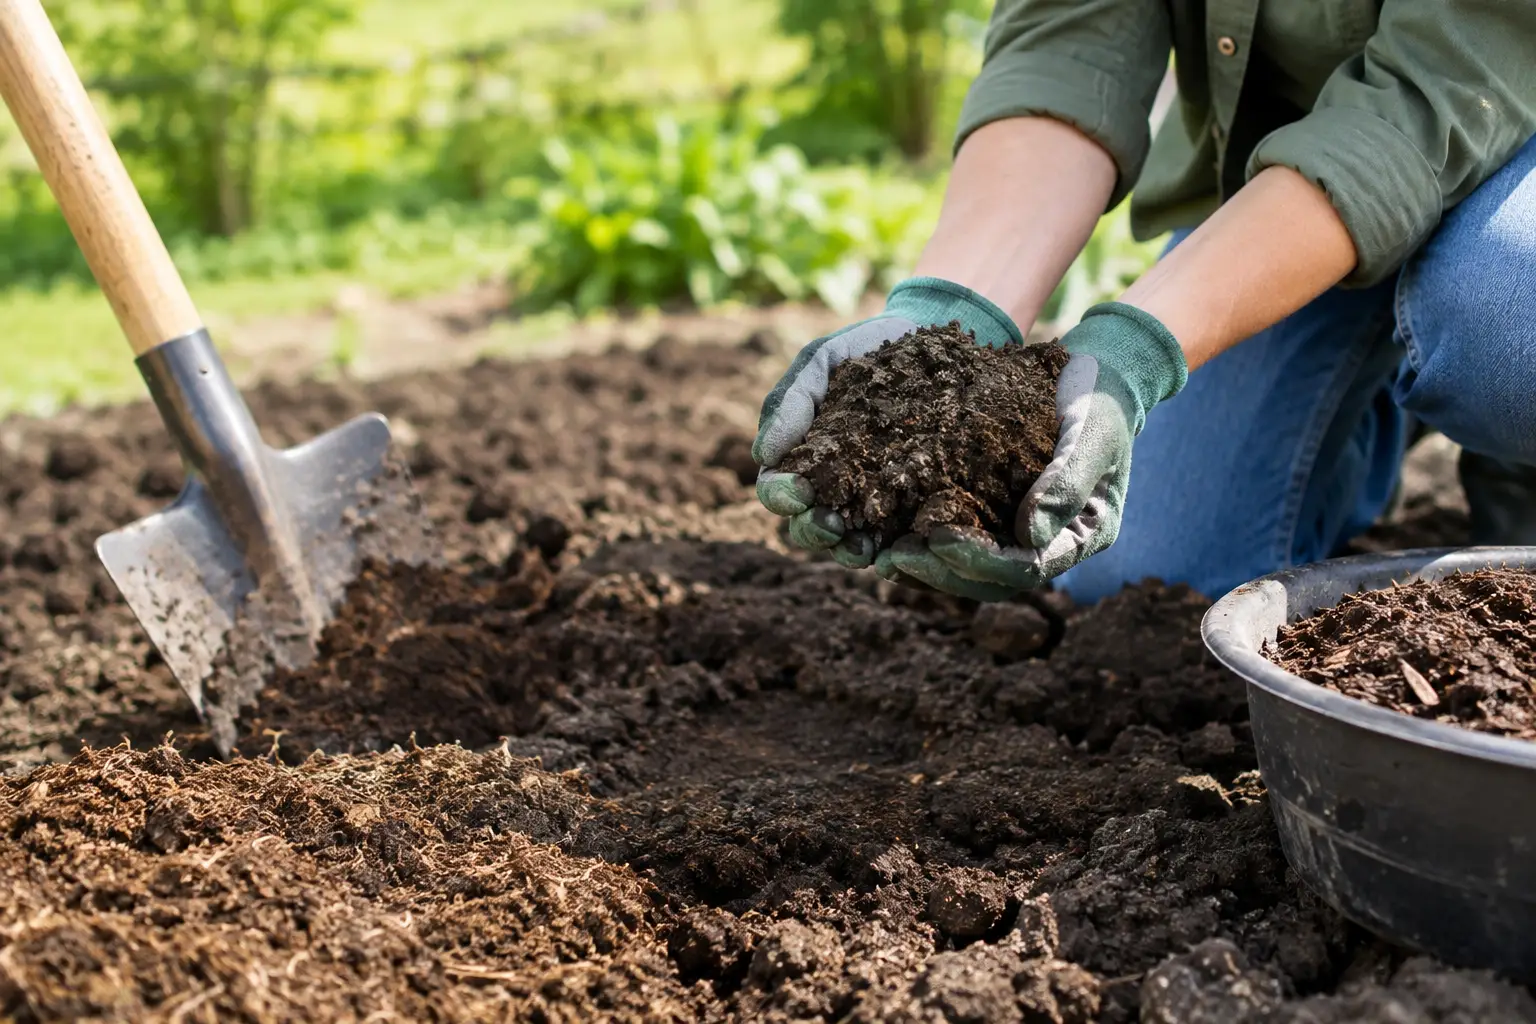
Finished compost is the workhorse amendment for clay soil. It improves structure without creating a sharp boundary between the amended layer and the native ground. Spread a 2- to 4-inch layer over the planting area and work it into the top 6 to 10 inches of soil. A garden fork or broadfork is often a better choice than aggressive tilling in established beds because it loosens soil without overly pulverizing it.
For a new garden bed, compost can be paired with quality topsoil when the existing ground is especially poor, shallow, or damaged by construction. The materials should be blended across the bed, not simply placed in a deep layer on top of untouched clay. A layered approach can slow water movement at the boundary, leaving plant roots sitting in wet soil.
Several organic materials can help, depending on the project:
- Finished compost adds stable organic matter and supports soil biology.
- A screened, quality topsoil blend can build up a thin or depleted planting area.
- Aged pine bark fines can improve texture in ornamental beds, especially around acid-loving plants.
- Shredded leaves, worked in gradually, provide a useful seasonal source of organic matter.
Avoid fresh manure near planting time, since it can be too strong for roots and may contain weed seeds. Avoid using raw wood chips as a soil amendment in annual beds, too. They are better used on the surface as mulch, where they break down slowly and help protect the soil.
Do Not Try to Fix Clay With Sand Alone
One of the most common mistakes is adding a little sand to clay in hopes of improving drainage. In the wrong proportion, sand and clay can form a dense, concrete-like mixture. It takes a very large volume of coarse sand, combined with significant organic matter, to change a clay soil’s texture safely. For most home gardens, compost is the more dependable first choice.
Gypsum is another product often recommended as a quick clay fix. It can be useful in specific soils with sodium-related structure problems, but it is not a universal answer for typical Alabama clay. A soil test or knowledgeable local guidance should come before making gypsum part of your plan.
If drainage is poor because water naturally collects in one area, soil amendments alone may not solve it. You may need to raise the planting bed, redirect runoff, or select plants that tolerate occasional wet conditions. Correcting the grade before installing shrubs or perennials saves considerable replacement work later.
Prepare the Whole Bed, Not Just the Planting Hole
It is tempting to dig a generous hole, fill it with rich soil, and set the plant in the middle. In heavy clay, that can act like a container buried in the ground. Water moves slowly out of the amended hole and can collect around the root ball.
Instead, improve the wider bed whenever possible. For shrubs and perennials, amend an area at least several times wider than each planting hole. Loosen the surrounding soil, then mix in compost evenly. This gives roots a reason and a pathway to grow outward.
When planting, dig the hole no deeper than the root ball and roughly two to three times as wide. Set the plant so the top of its root ball is level with, or slightly above, the finished soil grade. Backfill primarily with the native soil you improved from the bed, firm it gently, and water thoroughly to settle soil around the roots.
Trees deserve special care. Do not bury the root flare, which is where the trunk begins to widen at the base. In clay soil, planting a tree slightly high is often better than planting it too deep. A shallow, broad mulch ring will help retain moisture and reduce weeds while keeping the trunk clear.
Finish With Mulch and a Realistic Watering Plan
After planting, apply 2 to 3 inches of mulch over the bed. Mulch moderates soil temperature, slows evaporation, reduces surface crusting, and gradually adds organic matter as it breaks down. Keep it a few inches away from stems and tree trunks so moisture is not trapped against the bark.
Clay soil does not always need frequent watering, but it does need thoughtful watering. Check the soil below the surface instead of watering by the calendar. New plantings need consistent moisture while roots establish, yet constantly soggy clay can be just as damaging as drought. A slow, deep soaking followed by time for the soil to drain is usually more useful than a daily light sprinkle.
For larger bed projects, Landscape Source Inc. can help homeowners and crews plan the right quantity of bulk compost, topsoil, and mulch, with delivery arranged for practical placement at the property. Getting enough material on site from the start makes it easier to amend the full bed instead of taking shortcuts around individual plants.
Clay soil improves with each season you add compost, protect the surface with mulch, and avoid unnecessary compaction. Start with a manageable bed, pay attention to how water moves through it, and give the soil time to respond. The payoff is a planting area that is easier to work and far more welcoming to every root you put in it.

Leave a Reply